The best thing that I got out of my engineering degree is the wonderful ability to not pay for shortcut services or needing to find specific products because I can simply build it myself.
Software like KiCAD, the Adobe suite and even the recent release of Helldivers 2 made me wish for a one-button solution to certain actions, but I couldn't find a mechanical macro pad online that had the exact features I wanted. Specifically, I wanted it to be compact, have a hot-swap PCB, 2 toggle LEDs and a display screen (for fun).
Prototype Design
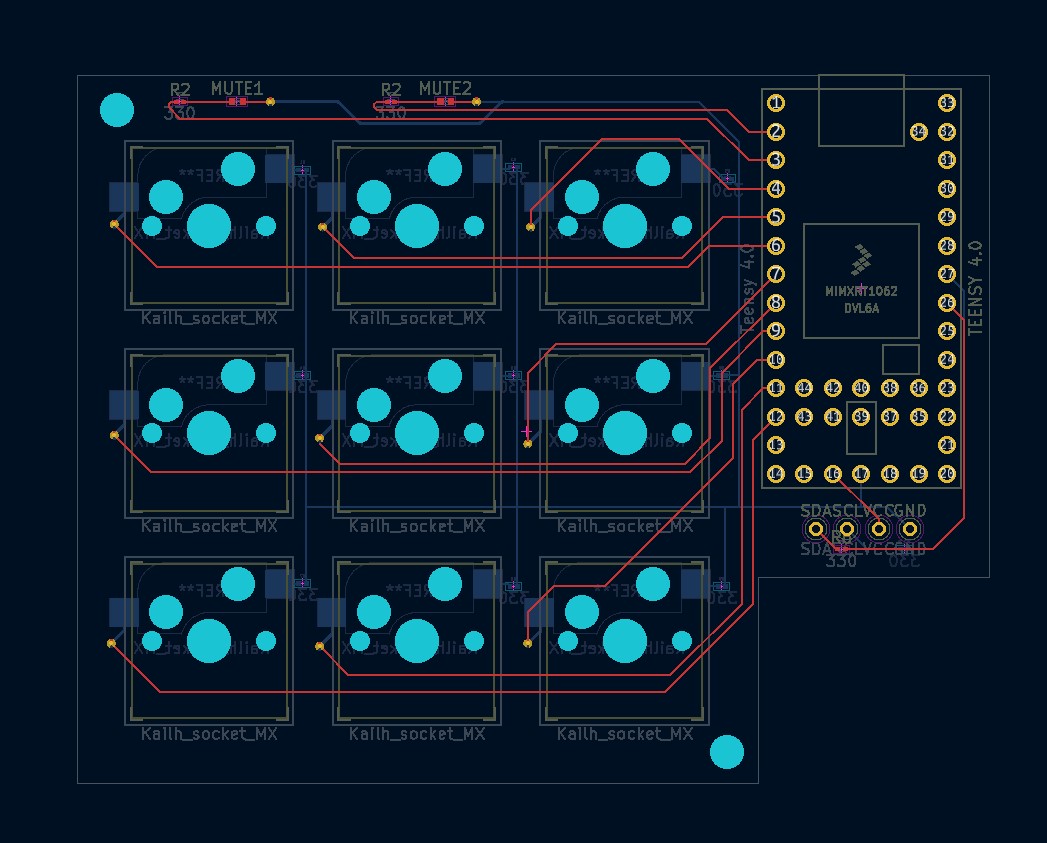
To start I wanted to get a test PCB in my hands. For this version, I also used a teensy 4.0 simply because I had 3 laying spare around my house. I also ordered a few 3Pcs 0.91 Inch OLED Display Module, ARCELI 0.91' I2C OLED Display Modules. The display is 32x128 pixels, giving me plenty of space for data-at-a-glace or an idle animation. Pins 2-12 are digital r/w pins for the pad itself, with pin 26 controlling the display.
Soldering
If soldering this PCB didn't make me want to get my caffeine dependency under control, I don't believe anything will. Regardless, It worked on first try, albeit I did think of some improvements I could make to this as I was soldering. For starters, If I plan to produce a number of these boards, I have to stick to convention and align the keys in a matrix. The pulldown resistors proved to be hard to solder, so I'm going to adjust the printing process of these boards as I think this would be better done by machine.
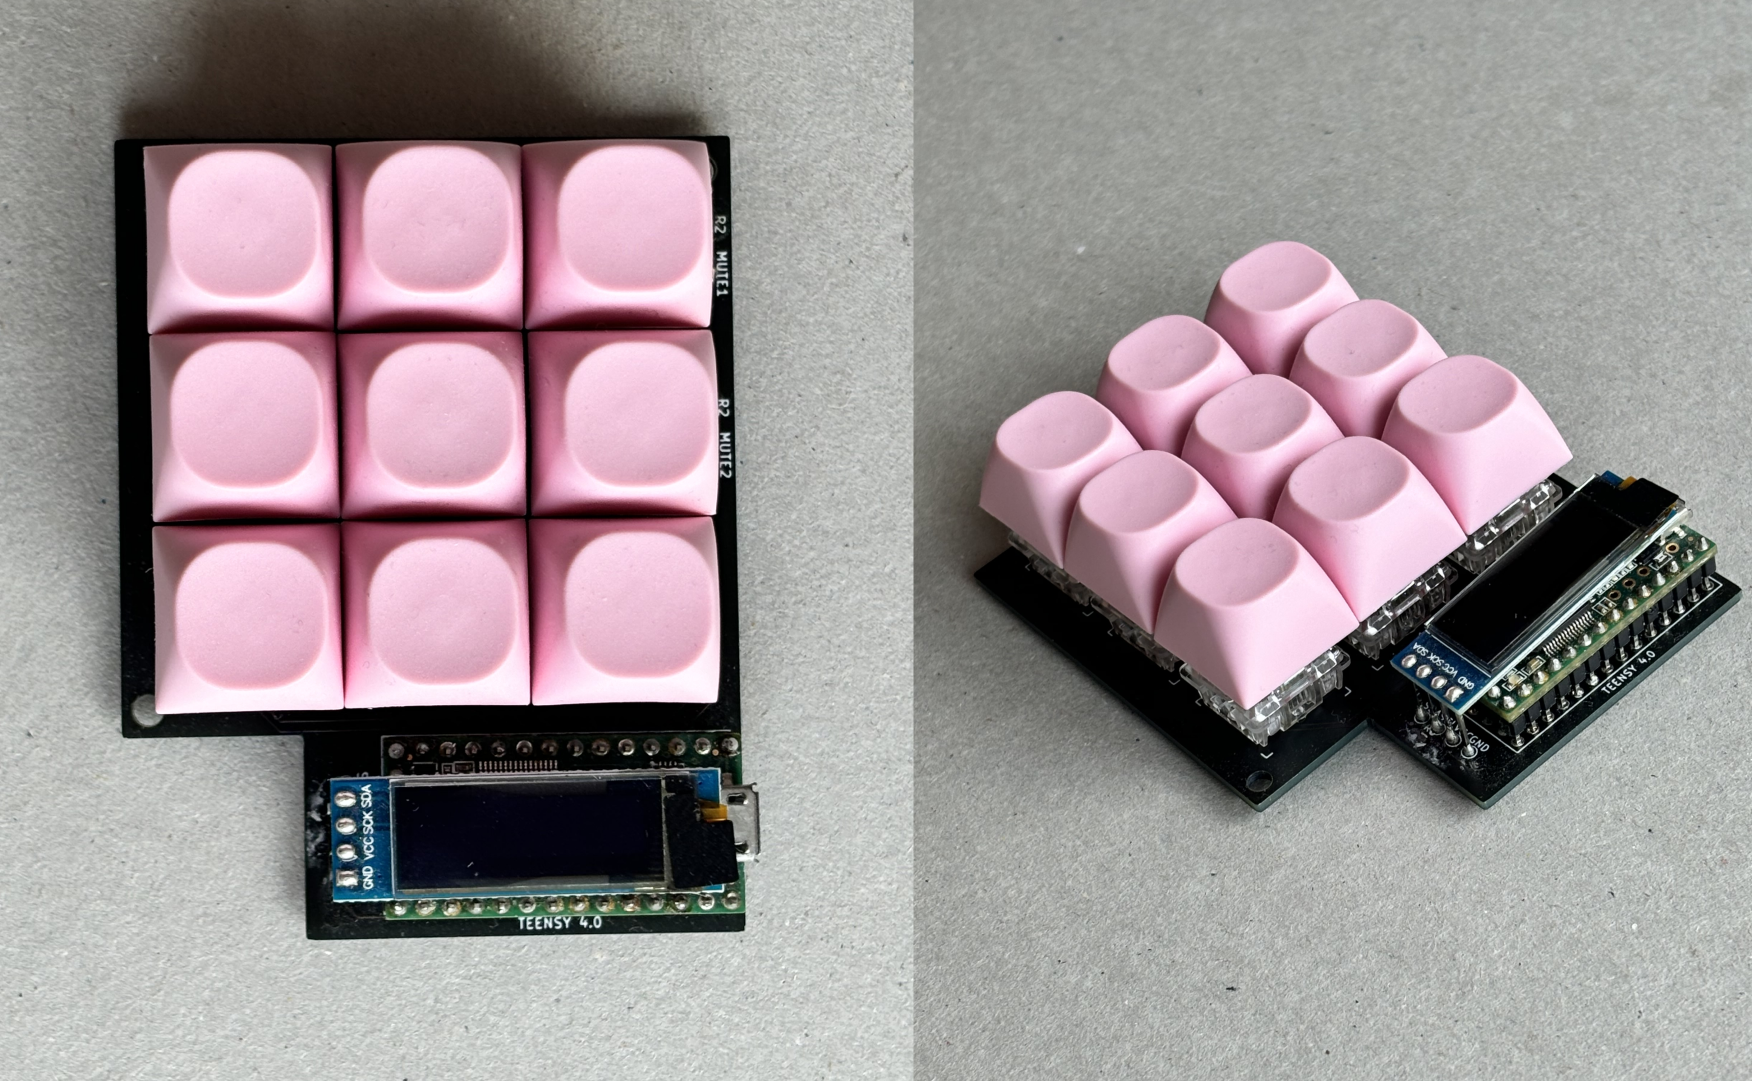
Keycaps fit like a glove!
The header pins are a bit too short, but that won't be an issue down the line. This is a hack job to test the screen and connections,
the display will eventually sit on a shelf within the case and be connected via wire.
TODO:
- Clean up wiring and implement matrix for the switches.
- Swap out Teensy 4.0 for ATmega328P. The ATmega328P is far more suitable for this project, especially if I manufacture a number of these units. It's far cheaper and has significantly lower power consumption, which would also allow me the option to make this battery-powered and wireless!
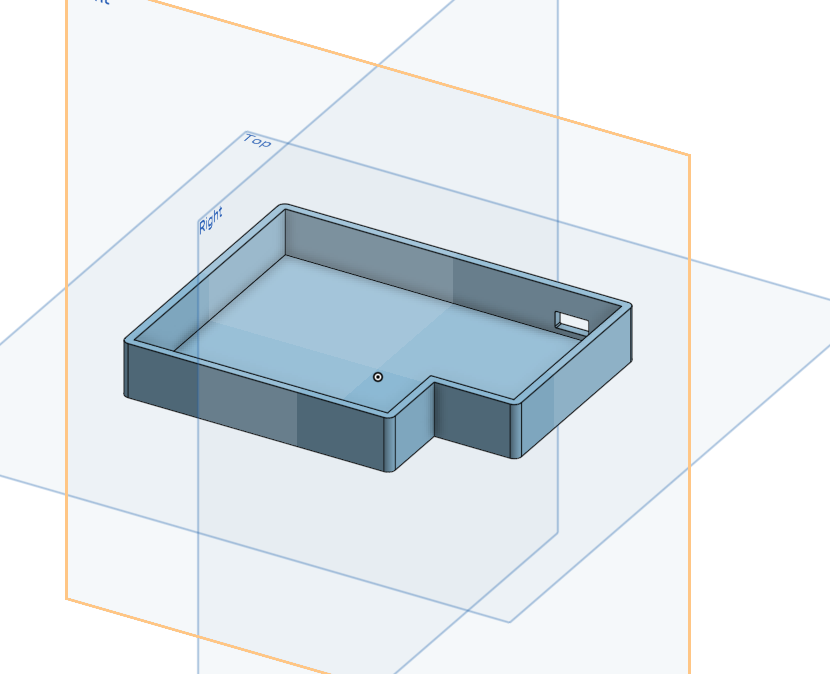
- Finish and print the case + PCB support plate.